Showing posts with label hair. Show all posts

Monday, 11 January 2016

New Hair

Hey everyone!!
I am back in London and I've just finished my first day back at university as I write this! It's been pretty stressful moving back and having to settle back into living in a shared house, especially as we've had to buy tickets for a field trip to Spain, but I digress...
Last week I went to Toni & Guy in Plymouth, and got my whole hair done, including a cut, which I haven't had done in definitely far too long... My roots were also in a dire need of some attention and basically everything just felt like it needed some real TLC. I went in and just asked for my roots to be bleached, and also to try and get it to a similar level of colour as what I already had on the rest of my hair. So, here's some before pictures....


I mean clearly in these photos I am being posey af, but the main point I want to make here is a) the roots and how kinda awful they were (this was probably about a month before I even got it done so imagine like 1 month more of it...) and b) how long it was. Remarkably, these photos actually make my hair look okay, but in reality it was very fine at the ends, with lots and lots of split ends all over the place. It looked nice occasionally, but often it was so dry and damaged. When I went to the hairdressers, I just asked them to cut enough off that it would be healthy, and in the next photo we can see that it was quite a substantial amount.


This is actually the only high-res photo I have of this (sorry!!) but as you can see it looks so so so much better shorter, it looks thicker and just has a lot more life to it. I'm so happy with the colour as it doesn't even look like I've had a touch up on the roots. There's a few bands of some coppery colours but I'm hoping after a few weeks of using silver shampoo they will all start to fade. I'm honestly just so happy with it and I feel much more content now that I know I haven't got some awful split ends going on. I love rocking a bit of a unnatural colour, and this kinda ticks all the boxes of still being reasonable, yet being different enough you don't see many other people with it.

I hope you all like my new hair too, I know it's not a massive change, but sometimes that's all that's needed to completely change your mindset about your hair, and that's really what's happened here.
Thank you so much for reading!


Monday, 30 March 2015

LUSH - Roots Hair Treatment


I definitely seem to be reviewing far too many Lush products on here recently, but I seem to also be spending far too much money whenever I enter a Lush store. I can't help it, it always just looks for too nice and honestly I don't think I've tried a product from there that I don't like.
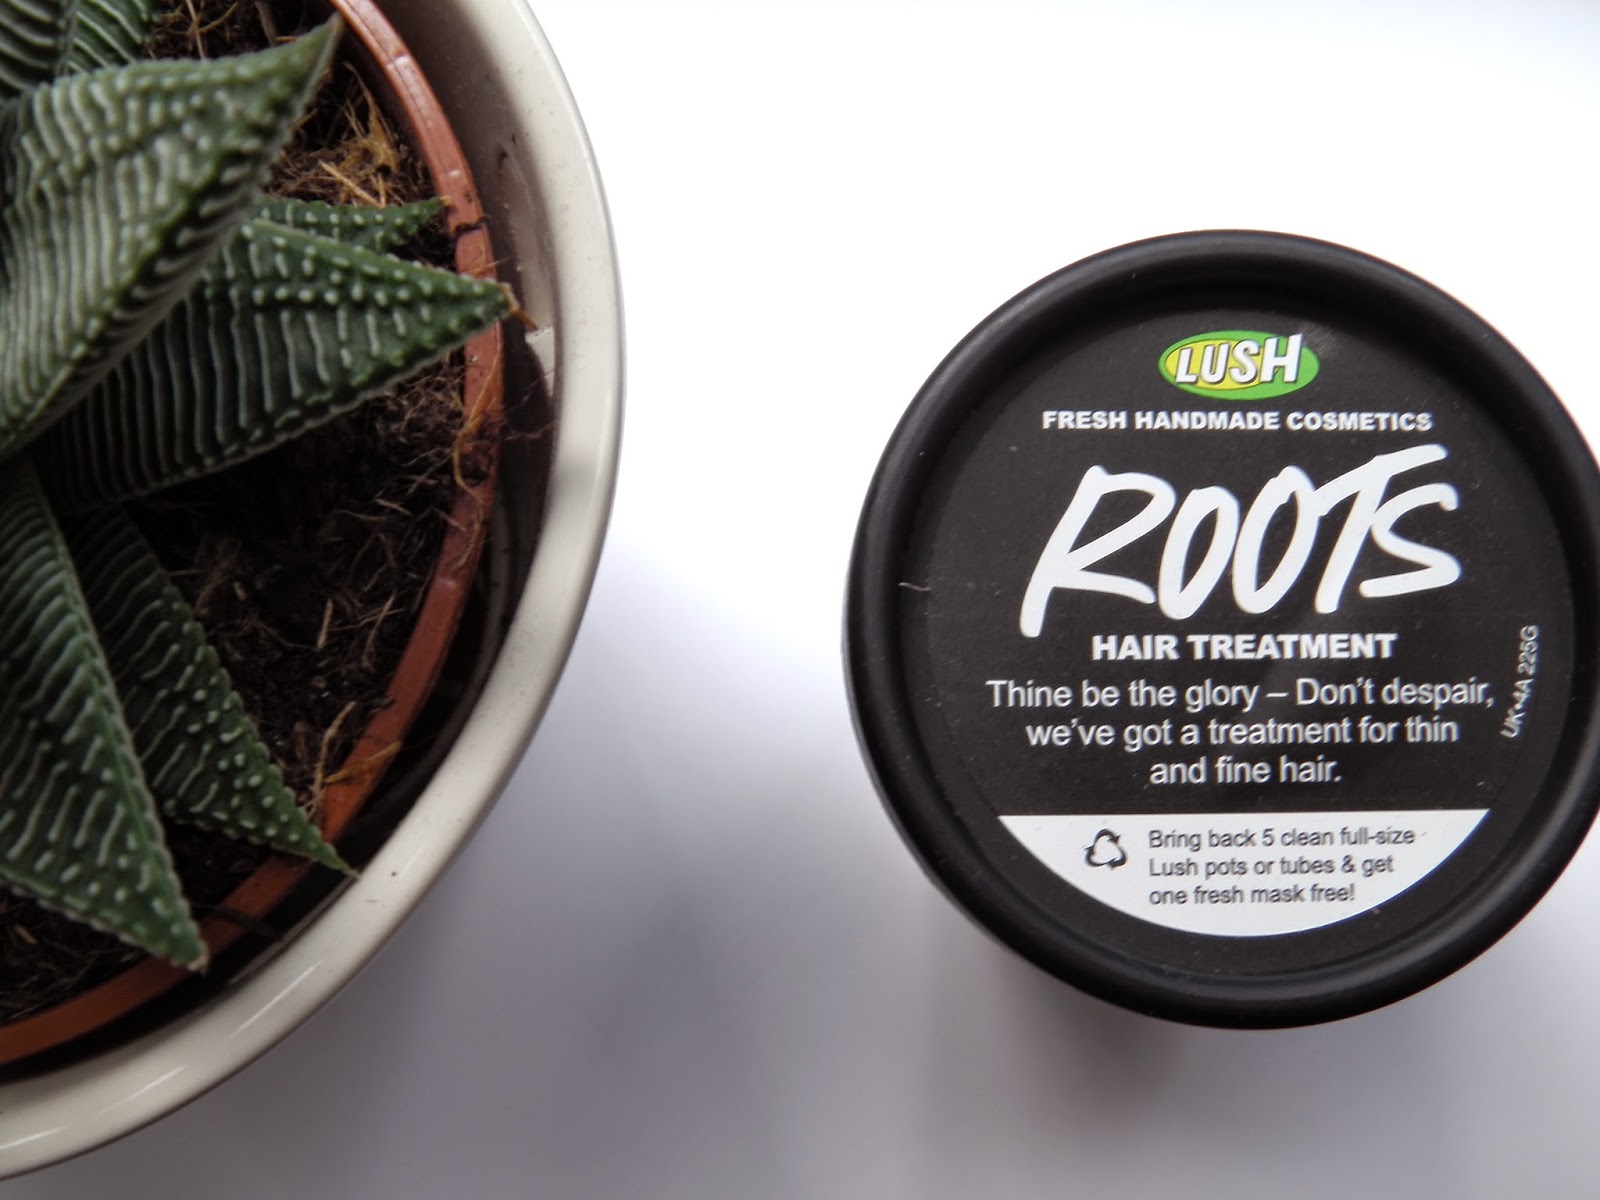
Roots is a 'hair treatment' and every time I went in and looked at it, which was several as I couldn't decide wether to purchase or not for a long time, I got a new description of what it what do for my hair.
The box says that it is for thin hair, but the assistance also told me it's good for hair loss, thickening and growth! So a pretty impressive tub of wonders for sure.


I've held off on this review so that I could get in a good few uses of it before I made up my mind,in the pictures that shows two uses of the pot, which I think is really quite impressive as I'm definitely going to be getting my money's worth out of this in the end! The product itself is of very thick consistency, and feels a bit like a very heavy moisturiser. It smells gloriously minty, and gives a tingly sensation when on your scalp when applied which is really refreshing, especially if you massage it in for a couple of minutes too! 


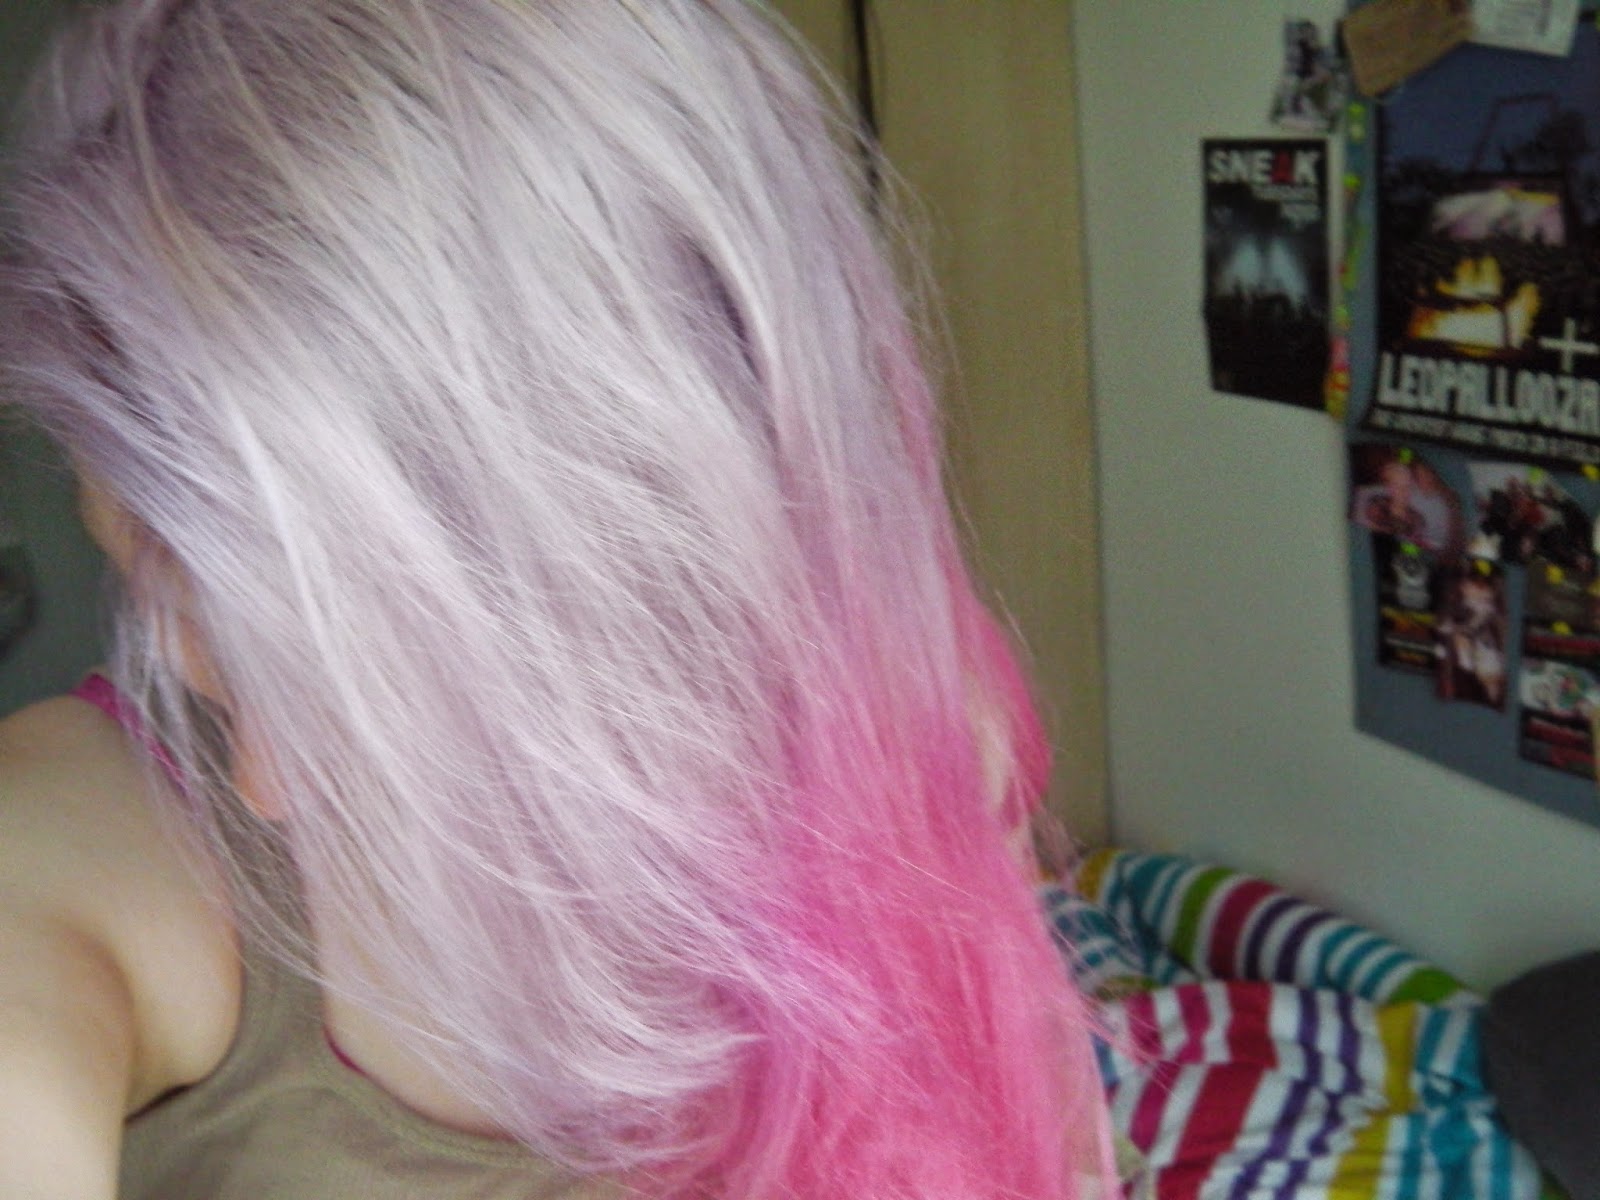
Overall I've definitely noticed that my hair has grown a lot quicker between my last root dye than the one before that. My roots are currently very noticeable, as you can see from the picture above, and I'm glad to be having my hair done this week! After application you can definitely feel a difference in the hair that has had this on, and it feels silky smooth and a lot healthier, and it feels so so lovely afterwards!5
When I apply this, I just scoop out some and massage it onto my roots and scalp and some of the hair around. I don't go too far down my hair, as I'd probably end up using way too much product doing my whole head, and after all this is targeted at the roots! I leave it on for as long as I can, up to an hour if it's possible and then wash it out in the shower and follow my normal routine!
Have you ever used any lush treatments?

Megan x


Friday, 6 March 2015

How to: Purple/Pink dip dye

Heya!
Little bit of a different post type but as I recently dyed my hair some pretty interesting colours, I thought I'd share with how I managed to do this at home.
Firstly, I'm not a hairdresser, I've been dying my own hair for several years now, so I kinda know what I'm doing, but my hair is my own and not yours so if you really want something done properly head down to your nearest salon!
Secondly: my hair was very very light platinum blonde, hence why I got quite bright colours. If your hair isn't ash blonde, the colours won't be as vibrant, and it may be more of a tint colour! Check packets of dyes as sometimes they have a colour chart of your expected colour.
Okay, first things first you will need:
The hair dye that you want to use (I used a Schwarzkopf pink dye and a Directions Violet)
A conditioner, preferably a white one, mine is a light blue but it was the cheapest I could find so... heh
A tint brush but you can use your hands just as easily!
A tub to mix the dye and the conditioner.

Okay, the first thing you need to do, is whack a bunch of that conditioner into some tubs, enough that will cover the amount of hair that you'll be dying. I have quite a lot of hair, therefore used quite a lot of conditioner, and even then I nearly ran out of purple for the top of my hair. Next, add the amount of dye you want to create the colour you're looking for. Most bright dyes like directions/manic panic come out the colour that they look, in my experience anyway. However it's always worth letting it get a little bit darker so the colour will fade to that which you want. Remember to only add a little but of dye each time, like a teeny amount, so as not to go too far dark/whatever! You can add more but you can't take away the colour!


 Next up, whack that stuff all over yo scalp. I always start with the front by my forehead, as you can see in the pictures above, and then work my way back and down to the tips. I don't know I do, personal preference I suppose. There's no right way to do this. If you're only going one colour, go nuts and just massage it all over the place.
Below you can see what my head looked like after all the dye was applied. I tried to blend in the two colours but it didn't quite work, perhaps because they were different makes. Next time I'm planning on mixing an intermediate colour so it all goes a lot smoother.


And voila, the final look, complete with my gym clothes and me desperately trying to not get my face in the picture. As you can see, the colours are pretty true to colour, apart from maybe the purple being a little paler, but I wasn't too surprised about that as it didn't seem to take to well when applied and I was running out so couldn't put enough on as I would have liked. Despite this I LOVE the colours together, and after a few washes the pink is more cotton candy colour and the purple is quite lavender/pastel like and ah it's really nice.
What do you think of my new hair?? (was it a good tutorial?)
Megan xx 

Tuesday, 13 January 2015

Looking After Dry Hair

I have a confession, and that confession is I honestly don't really have a clue how to look after my hair very well!! I've been bleaching my roots for about the last two years now, as I've slowly been working my way towards lighter hair in preparation for dying it (just you wait). However this all changed recently, when I decided enough was enough, and that there must be a product out there somewhere that will help me solve my dry hair problem!!


My search concluded with the purchase of these three lovely things: (L-R)
Umberto Giannini Overnight Beauty Moisture Balm
Umberto Giannini Instant Beauty Leave-In Conditioner
Umberto Giannini Mend My Hair Therapy Intensive Damage Repair

All three smell gorgeous which was an instant pleaser for me, as why would you ever want a hair product to not smell anything but nice?? I use the moisture balm most nights, especially near the tips of my hair as that's what gets driest and this really is noticeable the next day when my hair isn't straw-like. It just kinda rubs on like a moisturiser for you hair, and you barely have to use anything to cover your whole head, I imagine if you have short hair you'll almost have to use a tiny tiny amount as my hair is quite long and I don't use much at all!
The other two products are quite similar, the leave in conditioner is for use after showers and I use this as well as my normal conditioner for that super boost of rehydration and a more softer feel to my hair. The Therapy oil is more for intensive treatment (as the name suggests hm) and I use this maybe once a week to really help my hair and this smells so gorgeous and exotic too. The instructions say you can use it on dry hair but i did this and wasn't exactly thrilled with the results (it just made my hair look real greasy...) so I wouldn't exactly say that's the best way to use it and would instead suggest sticking to using it after a shower as an extra form of conditioning.
Before buying any of these products I hadn't previously owned anything by Umberto Giannini, but the packaging called to me and the product has definitely won me over so I think I'll be looking in their section again when I next need some more hair products!

Do you have any other products that you rely on for your hair? I'd love to hear from you!
Megan
x


site design by designer blogs